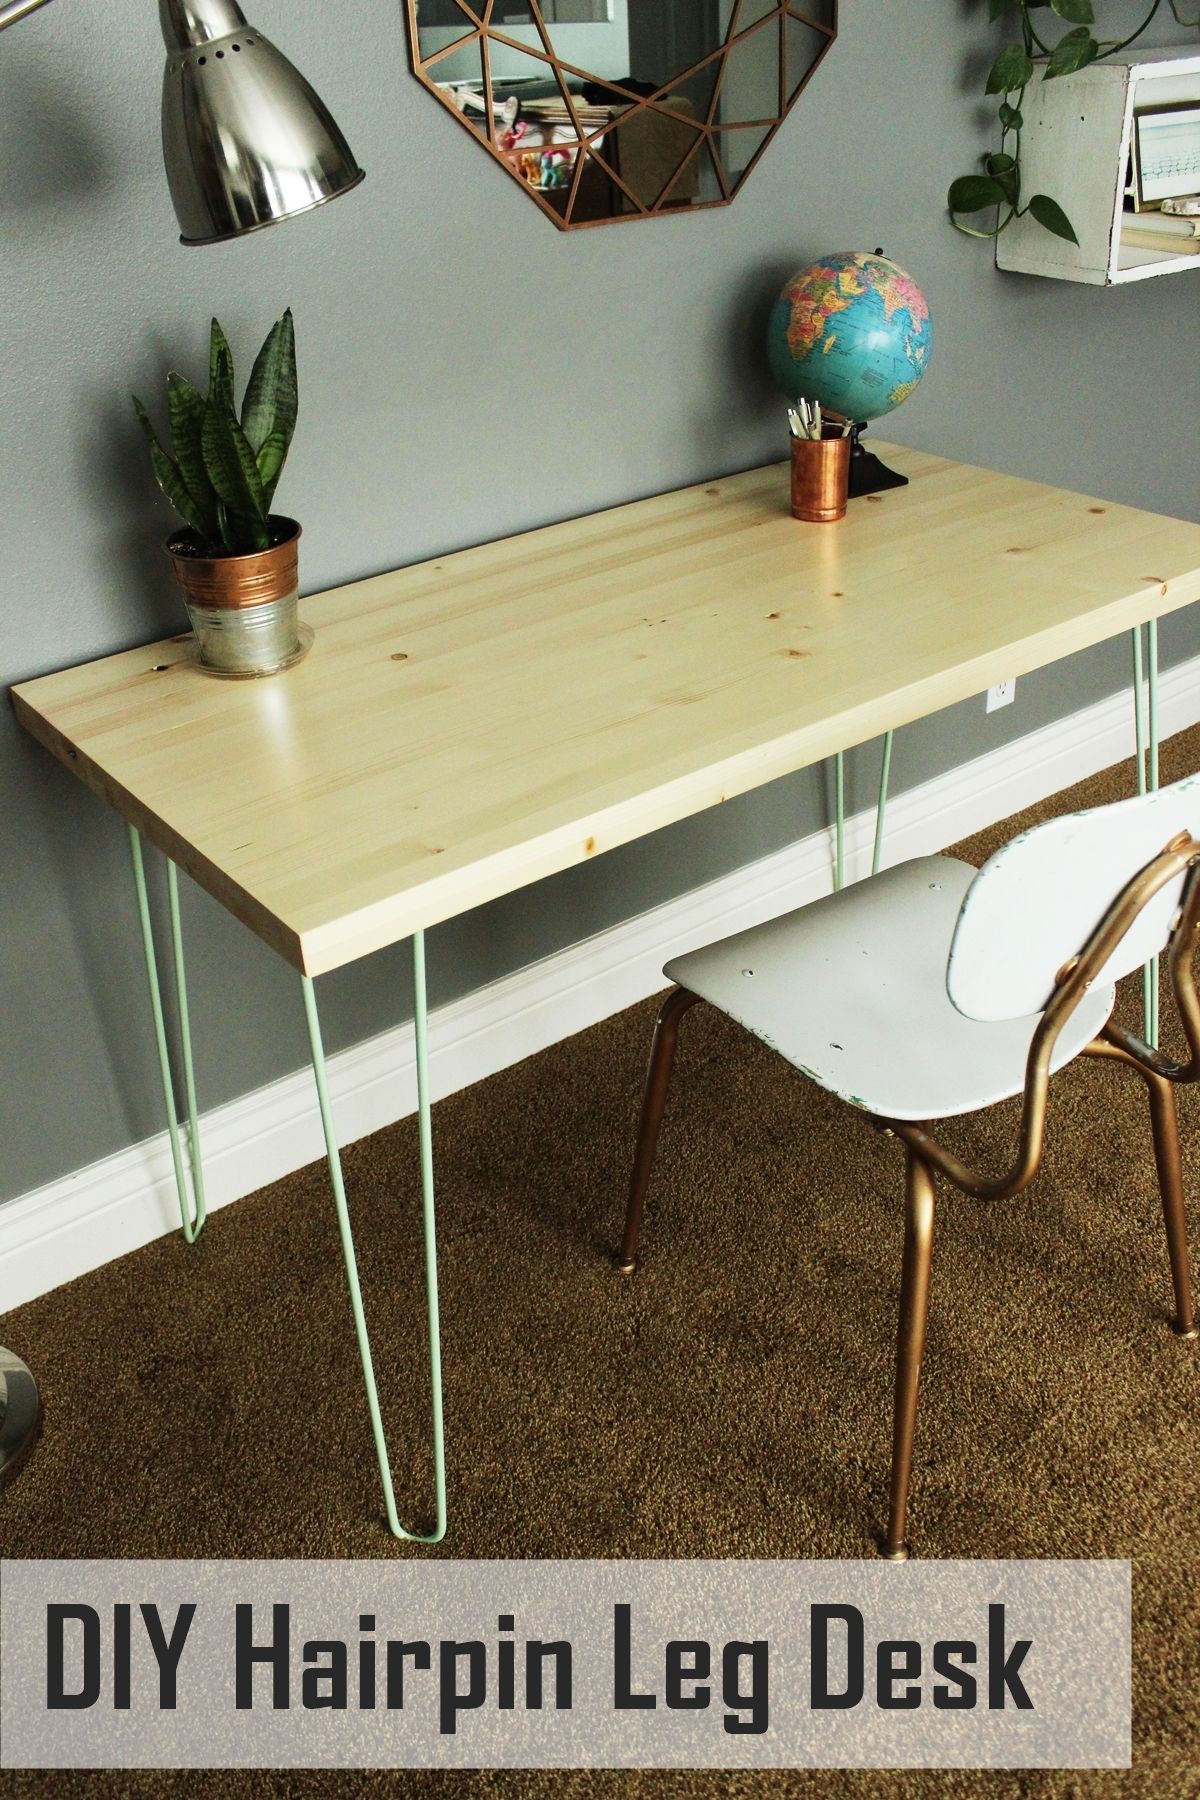
DIY Contemporary Hairpin Leg Desk
Hairpin legs on furniture are and then sleek and chic. They're substantial without looking the role, which is a contemporary aesthetic juxtaposition that is as appealing as it is intriguing. Plus, these days, you can get powder-coated hairpin legs in almost whatever color and in a variety of sizes, which makes building your own hairpin leg desk-bound an absolute treat. Pair that with some set-to-go project panels for your desktop, and you've got yourself a simple (if not exactly fast) DIY project that you lot'll love for years.
 View in gallery
 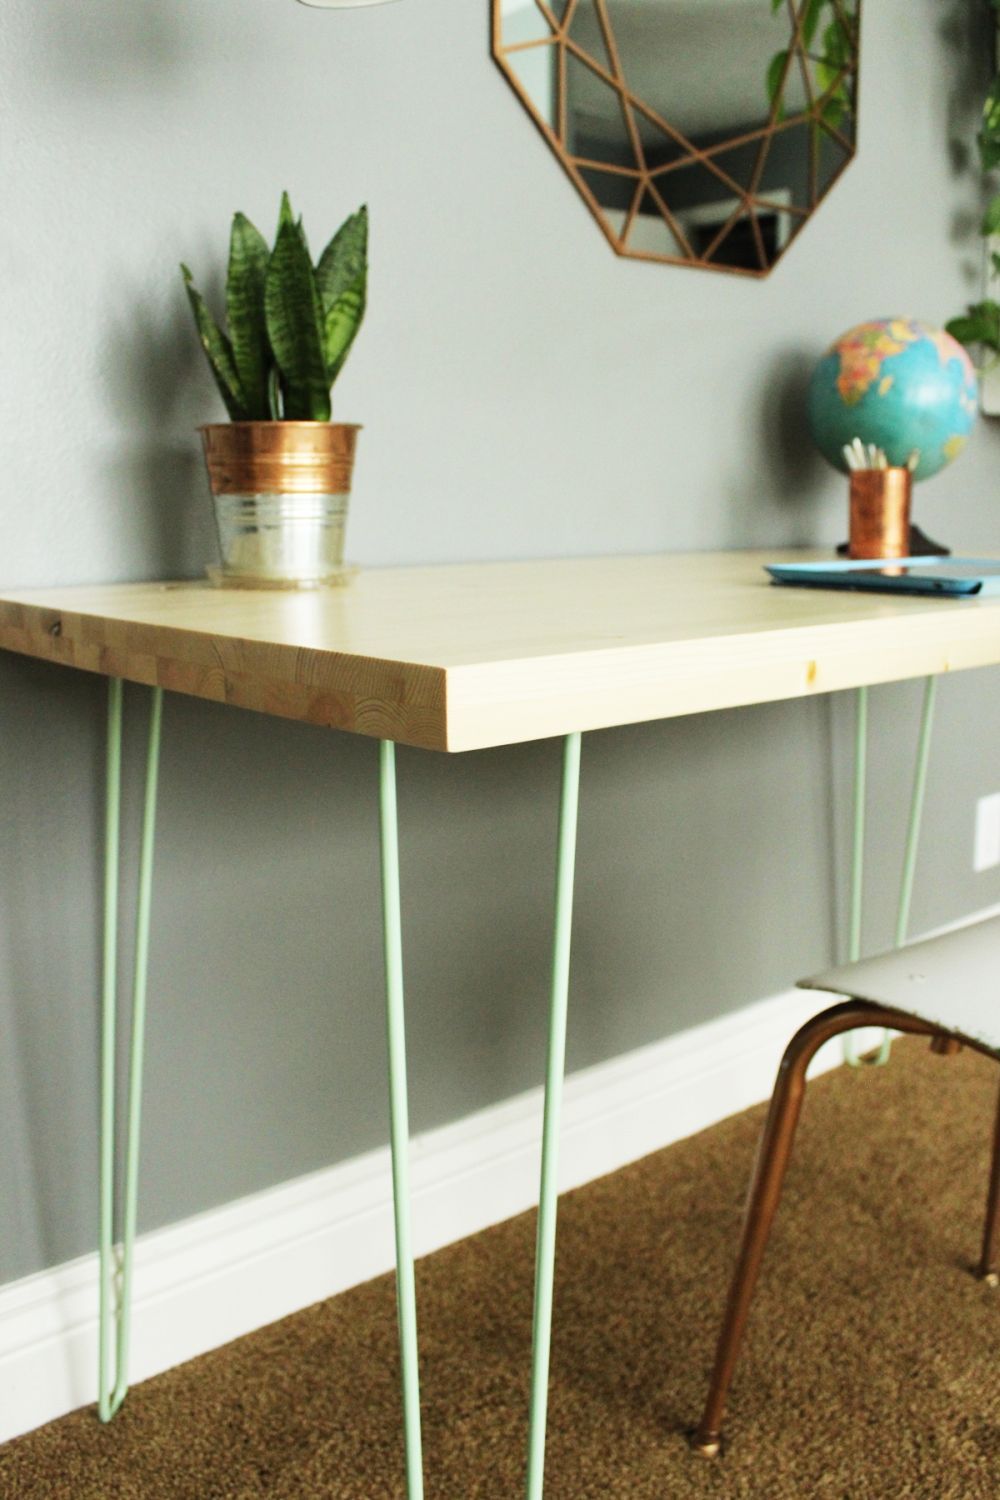 View in gallery
 DIY Level: Beginner
 View in gallery
 Materials Needed:
- Two (2) 24"x48" project panels, iii/iv″ thick each
- Wood glue
- 21x 1-1/4" wood screws
- Polycrylic + paintbrush
- Four (4) 28" alpine hairpin legs (example uses pulverization-coated hairpin legs in mint)
- 120- and 220-grit sandpaper + electrical sander
 View in gallery
 Brainstorm past working with your project panels. If you've never heard of or worked with project panels before, projection panels are pre-fabricated wood sheets where strips of woods are all attached together to become i single console. They are sanded smooth and fix to go. Project panels are wonderful to piece of work with!
 View in gallery
 They'll be sold in the lumber section of your local hardware shop, although not necessarily by the big plywood sheets. My hardware store sold them virtually the trim and "craft" blazon woods options, wrapped in plastic so as to protect the pre-sanded surfaces. Project panels come in a multifariousness of sizes; this instance uses two iii/4″ thick 2'x4' panels.
 View in gallery
 Look at both sides of both project panels and determine which surface you want for the top of your desk. Identify this surface face up-down on a clean dropcloth.
 View in gallery
 Catch some wood glue. I happen to really like Gorilla Glue wood mucilage, only feel free to choose what works best for you.
 View in gallery
 Utilise a generous corporeality of woods glue to the back of your projection panel. Accept care to keep a little distance betwixt the glue and the ends of your projection panel; nevertheless, it's not the stop of the globe if some glue ends upwardly squeezing out when you glue the 2 panels together.
 View in gallery
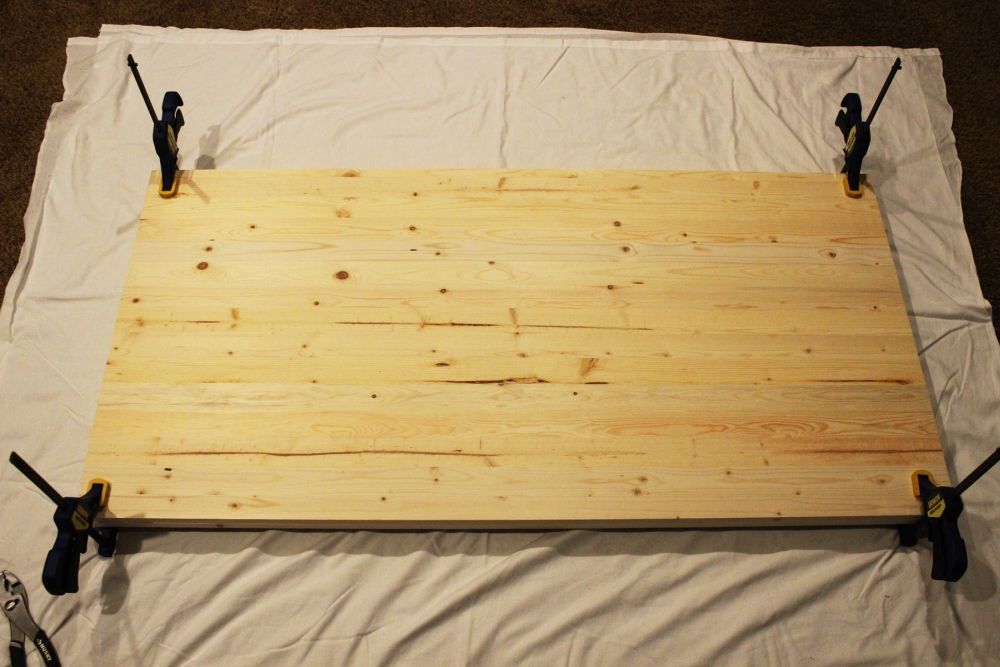
 Place the 2d projection panel (which will be the bottom of your desktop) on meridian of the wood glue.
 View in gallery
 Carefully, as precisely every bit possible, line up all corners and edges to be flush.
 View in gallery
 Keeping the alignment in bank check, clench each corner.
 View in gallery
 Check for precise alignment before clamping each corner; at present is the time to fix any shifting that may accept happened with the previous clamping.
 View in gallery
 Keep the clamps on for 24 hours while the wood glue dries completely. You can add more clamps than this if yous'd like (along the sides), but at least proceed the 4 corners clamped.
 View in gallery
 Choose a drill bit that matches the diameter of your 1-1/4" wood screws.
 View in gallery
 Measure or marking your drill scrap at the ane-i/4" spot. You don't desire to drill holes in the acme of your desk, so exist sure you don't exceed 1-ane/4".
 View in gallery
 Use a square or some sort of measuring device to marker points on each corner, 6" in from each side.
 View in gallery
 Class an X, rather than draw a dot, for the most precise mark. Do this at all four corners.
 View in gallery
 Measure out and mark the very center of your panel also.
 View in gallery
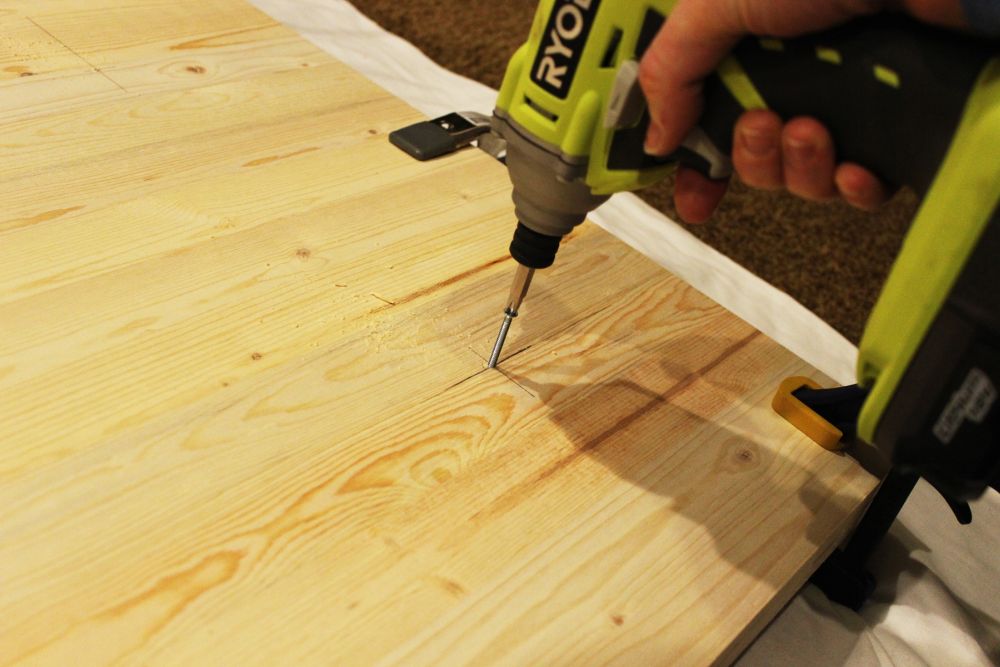
 Predrill holes at the centers of all your Xs.
 View in gallery
 Accept care to keep the drill holes to 1-1/four" deep or less.
 View in gallery
 Screw in your wood screws at all five pre-drilled holes (four corners + center). You tin add more holes if you want, although it's really not necessary. Leave the project panels solitary for at least 24 hours while the mucilage dries.
 View in gallery
 When the project panel glue is thoroughly dry out, it's fourth dimension to stop the desktop. Take your medium sandpaper (120-dust).
 View in gallery
 Sand the top and all sides of your project panel. Sand in the direction of the forest grain.
 View in gallery
 If there are any bumps on the sides where the project panels were glued together, now is the time to shine those out so the seam is polish and, well, seamless.
 View in gallery
 When your woods is completely smooth, grab your fine sandpaper (220-grit), and requite everything a second sanding.
 View in gallery
 Wipe everything off with a clean, damp rag. Allow the wood dry completely before moving onto the next stride: finishing the wood.
 View in gallery
 Stir your sealant. Recommended for this project is water-based polycrylic in satin finish. There are plenty of options, from matte to sleeky, merely I adopt satin for most forest projects myself. Also, water-based poly is nice considering you can simply rinse out your brush with h2o when washed, rather than having to employ mineral spirits or paint thinner or whatsoever. Much faster and easier.
 View in gallery
 You'll likewise want to utilize a high-quality paintbrush (the best you can beget, really) when applying polycrylic. I love Purdy brushes, personally, merely utilize what works for yous.
 View in gallery
 Working with the grain, brush the polycrylic onto the top of your desk. It's helpful to go on the tips of your castor fluid with poly, rather than letting them get dry, because brush strokes show up much more when you overbrush or try to castor without enough poly.
 View in gallery
 Go all the sides and corners likewise. When you're finished, get effectually the panels once more with your wiped-off paintbrush, swiping any backlog or dripping polycrylic away from the underside and corners of your boards.
 View in gallery
 Permit polycrylic dry completely (follow the instructions on your can), then sand with 220-dust sandpaper, wipe down, and reseal. Do this ane more fourth dimension, for a full of three coats of polycrylic. Let dry at least 24 hours, maybe more depending on the atmospheric condition and drying conditions. Exist sure surface is non at all tacky to the bear on before moving on to the next footstep. (This project panel stale for at to the lowest degree 72 hours.)
 View in gallery
 Lay some old towels onto the floor, and place your project panel desktop on them, top-side down. You should be able to meet your five spiral heads now. Note: You can certainly seal/finish the underside of your desk if you want to. I did not.
 View in gallery
 Measure and mark lines at i-ane/two" in from the sides at each corner. These lines volition be what yous lucifer up with your hairpin legs for zipper. Be very careful in your measurement and marking, every bit your precision here will likely determine the stability of your desk.
 View in gallery
 Be certain that legs line upwardly perfectly with the ane-1/2" markings before screwing them in.
 View in gallery
 Employ four 1-1/4" screws to attach each hairpin leg.
 View in gallery
 Repeat for all 4 legs.
 View in gallery
 Yous're washed!
 View in gallery
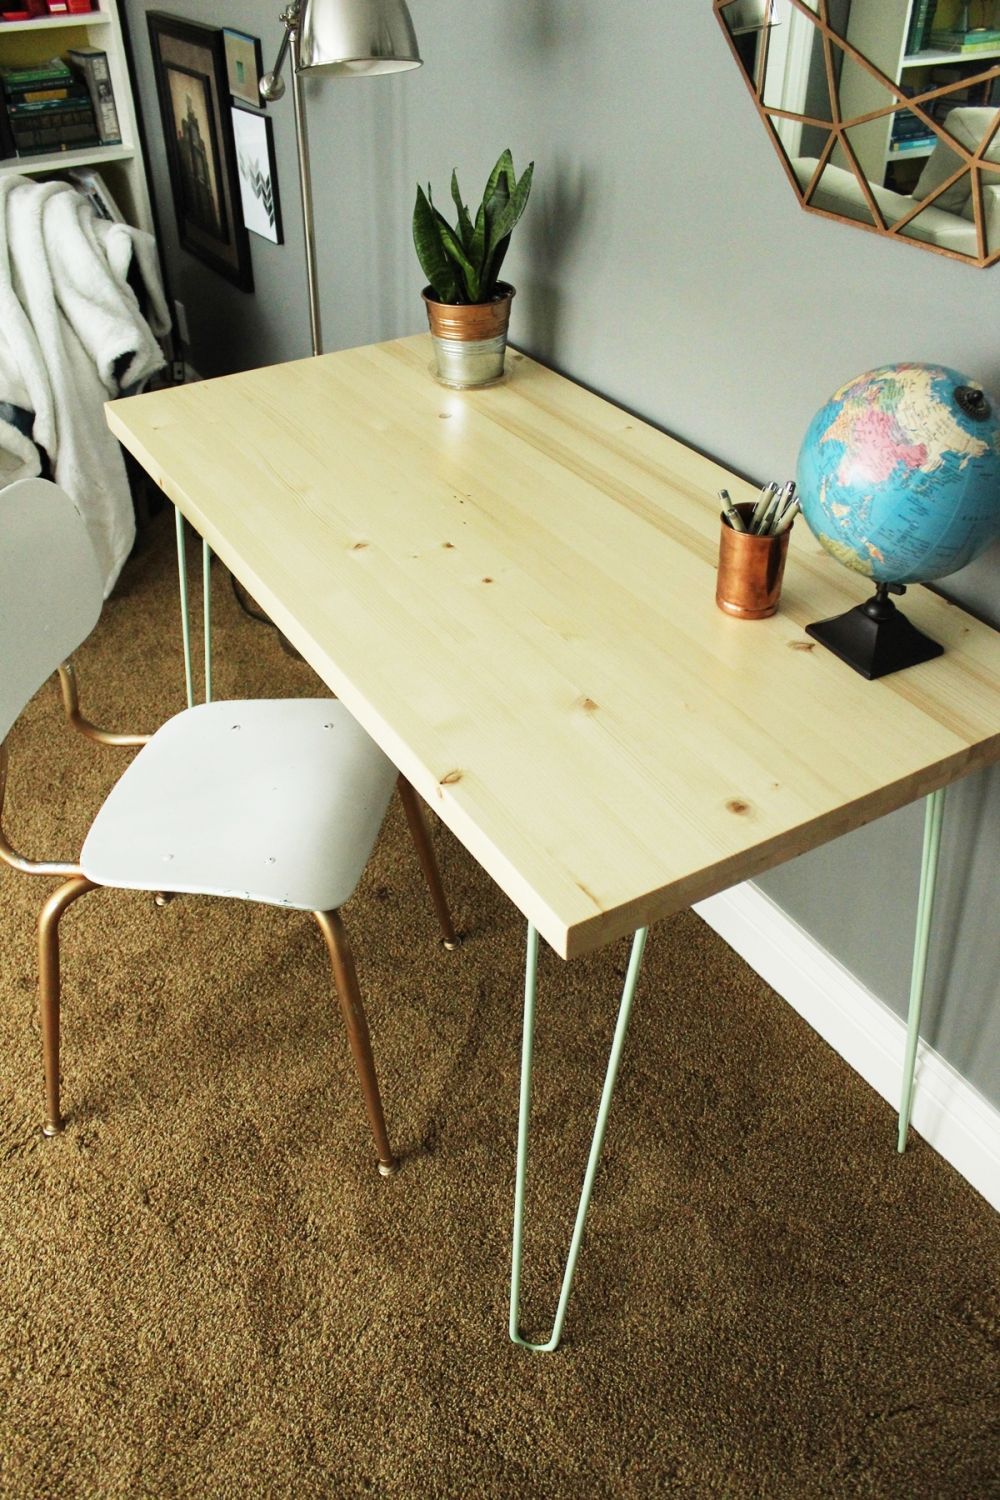
 Your new sleek, contemporary hairpin leg desk is completed.
 View in gallery
 It's quite lovely in its understated simplicity, isn't it?
 View in gallery
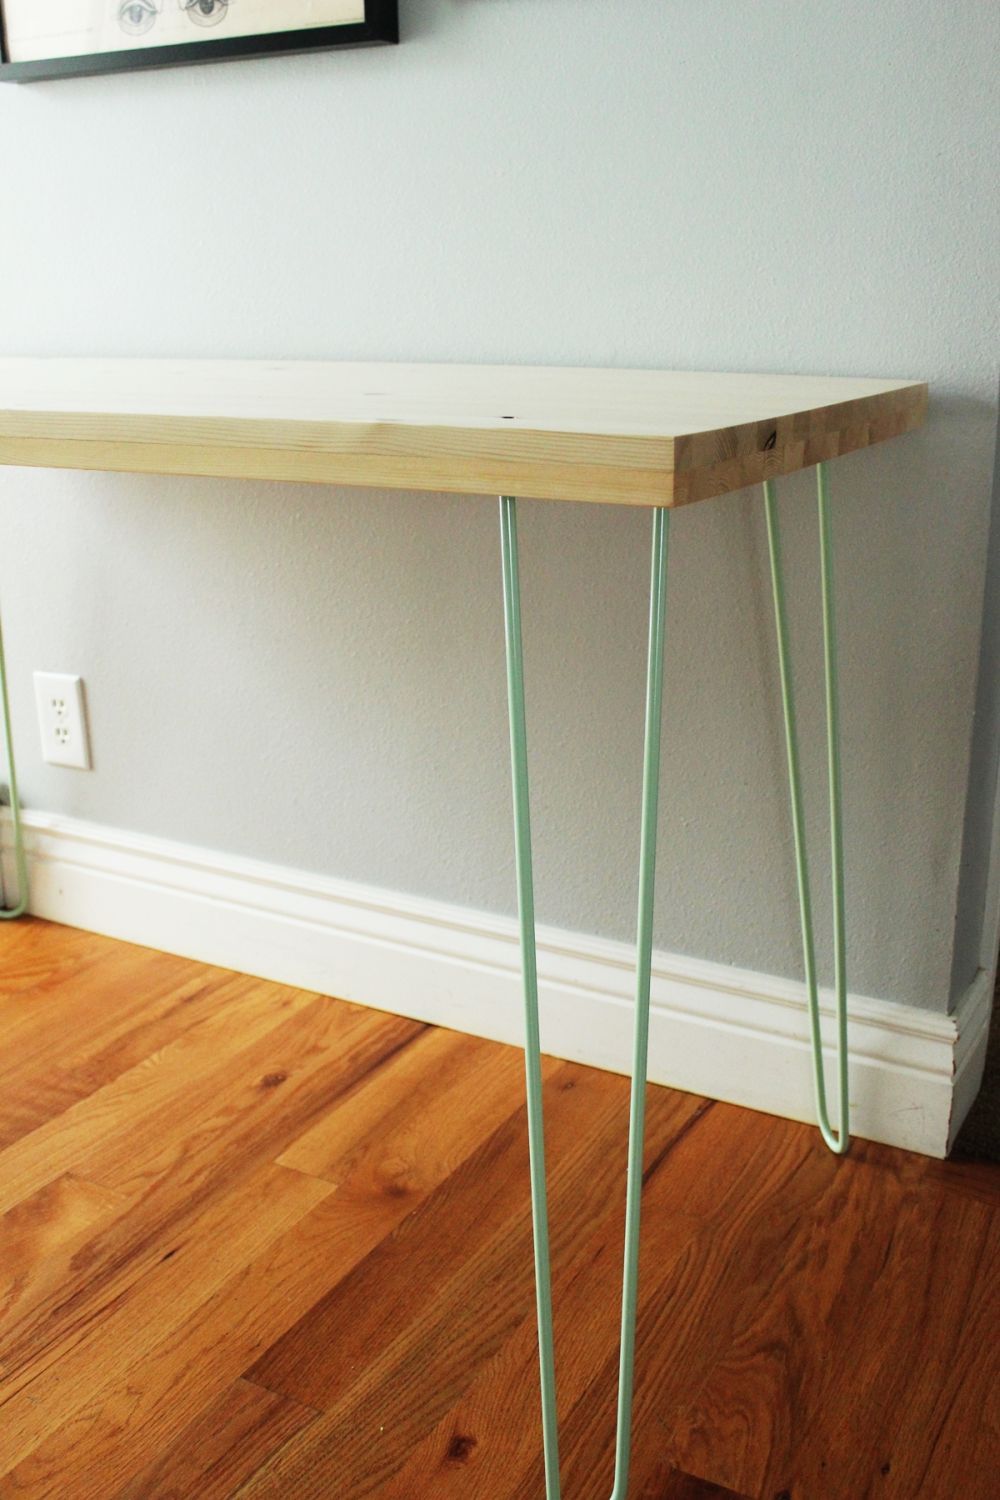
 I love the combination of blonde woods desktop with minty green hairpin legs.
 View in gallery
 It'southward and then fresh and mod.
 View in gallery
 Find how the two project console sides add some visual interest? They line up perfectly past feel, but their grains don't align at all, which is actually one of my favorite aspects of this desk-bound. A very subtle detail of visual interest.
 View in gallery
 This size of desktop is quite large; big enough for a laptop, desktop, iPad, plus a variety of other desk-bound-y accessories if need exist.
 View in gallery
 I similar its functional size while notwithstanding maintaining great proportion with the sleek hairpin legs.
 View in gallery
 If yous love hairpin legs (and who doesn't, really), you might be interested in this other tutorial for a hairpin leg side table.
 View in gallery
 Yous also might exist interested in this tutorial for the copper gem mirror, too. Only, y'all know, while you're at it.
 View in gallery
 Happy DIYing! We hope yous love your own contemporary hairpin leg desk as much as nosotros love ours.
Source: https://www.homedit.com/hairpin-leg-desk/
0 Response to "DIY Contemporary Hairpin Leg Desk"
Отправить комментарий